How to Find a Roof Leak Before It Causes Major Damage
Learn how to detect and locate a roof leak in your Saratoga Springs home before it causes costly water damage. Step-by-step guide with expert tips.

Finding a Roof Leak Before It Becomes a Major Problem
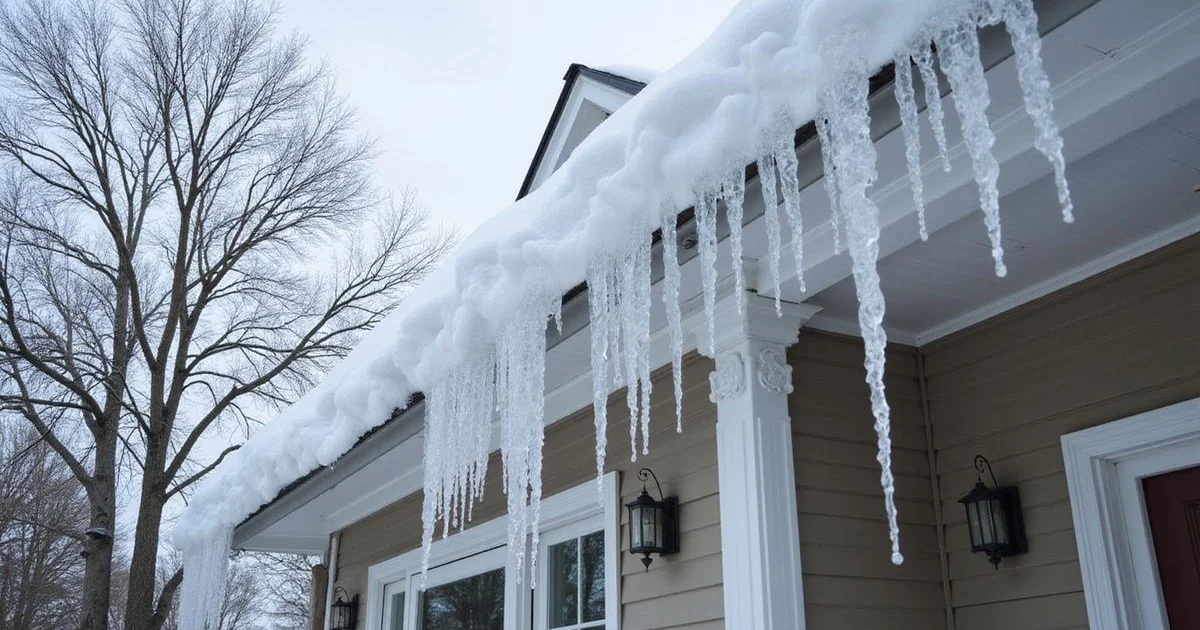
A roof leak might start as a small drip, but left unaddressed, it can lead to thousands of dollars in water damage, mold remediation, and structural repairs. For homeowners in Saratoga Springs, where heavy snow, ice dams, and driving rain are regular occurrences, knowing how to detect a roof leak through early leak detection is an essential skill. This guide will walk you through the signs to watch for and the steps to locate the source of a leak.
Recognizing the Signs of a Roof Leak
The first step in finding a leak is knowing what to look for. Many leaks go undetected for weeks or even months because homeowners are not aware of the early warning signs.
Water Stains on Ceilings and Walls
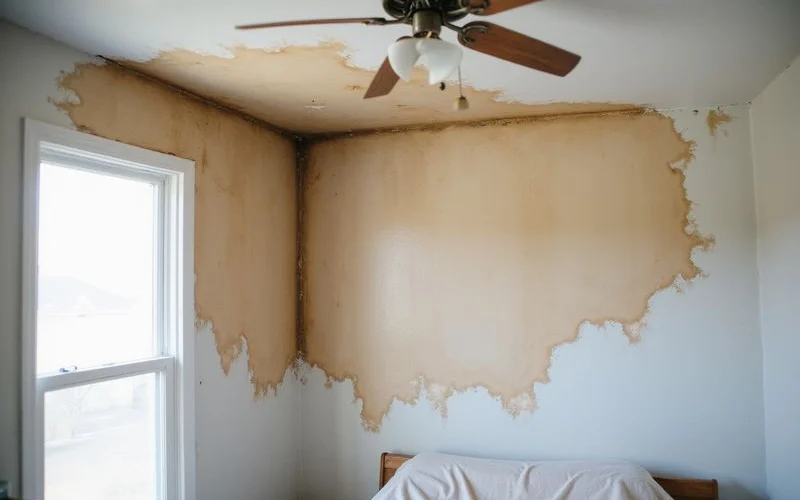
The most obvious sign of a roof leak is a brown, yellowish, or dark ring on your ceiling or upper walls. These stains indicate that water is penetrating your roof and making its way down through your attic and into your living space. Pay close attention to areas near chimneys, skylights, and exterior walls, as these are common leak points.
Musty Odors
A persistent musty smell, especially in your attic or upper floors, can indicate hidden moisture and mold growth from a slow leak. Mold can begin growing within 24 to 48 hours of water exposure, so a musty odor should never be ignored.
Peeling Paint or Bubbling Wallpaper
Moisture behind walls causes paint to peel, bubble, or blister. If you notice these signs on your upper-story walls or ceilings, there is a good chance water is migrating from a roof leak through your wall cavity.
Dripping Sounds
During or after rainfall, listen for dripping sounds in your attic or inside your walls. Even if you cannot see water, hearing it can help you narrow down the general location of a leak.
Step-by-Step Leak Detection
Step 1: Inspect Your Attic
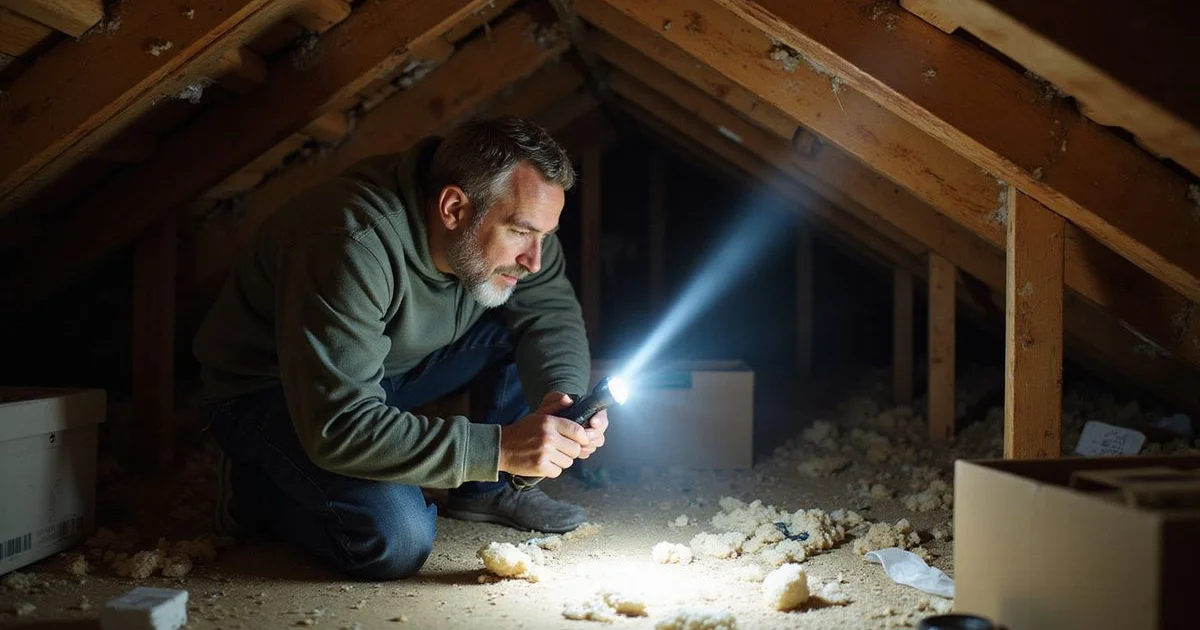
The best place to start looking for a roof leak is in your attic. Choose a time when it is raining or shortly after, as active moisture makes leaks easier to spot. Bring a flashlight and carefully examine the following:
- The underside of the roof decking for dark spots, stains, or dampness
- Rafters and trusses for signs of water running along their surfaces
- Insulation for compressed, wet, or discolored areas
- Areas around roof penetrations such as vent pipes, chimneys, and exhaust fans

Step 2: Trace the Water Path
Water rarely drips straight down from the point of entry. It typically travels along rafters, sheathing, or other surfaces before dropping to the attic floor or soaking through the ceiling below. If you find a wet spot, trace the moisture upward and along the rafters to find where the water is actually entering. Mark the location so your contractor can pinpoint the source from outside.
Step 3: Check the Exterior From the Ground
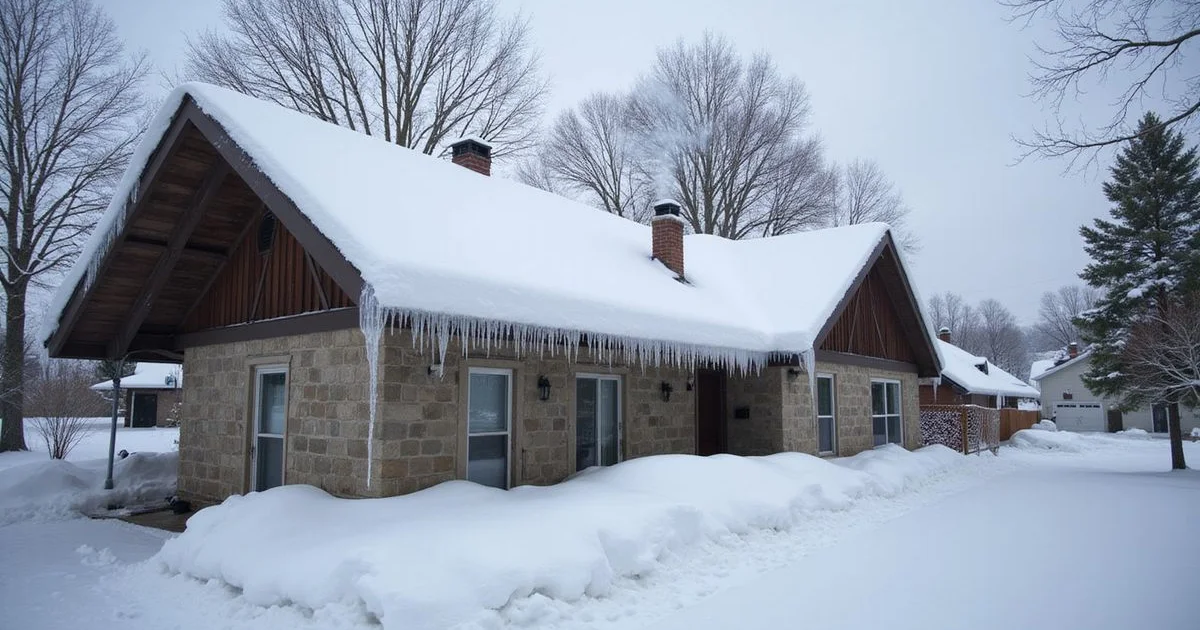
Using binoculars, perform a ground-level roof inspection for visible damage. Look for missing or damaged shingles, cracked flashing, damaged vent boots, and any areas where debris has accumulated. In Saratoga Springs, also look for signs of storm damage and ice dam damage along the eaves, such as damaged or missing starter shingles and bent drip edge.
Step 4: Inspect Common Leak-Prone Areas
Certain areas of your roof are more vulnerable to leaks than others. Focus your attention on:
- Chimney flashing: The junction between your chimney and roof is one of the most common leak points
- Roof valleys: Where two roof planes meet, water concentrates and can work its way under shingles
- Vent pipe boots: The rubber seals around plumbing vent pipes deteriorate over time
- Skylights: The seals and flashing around skylights can fail as they age
- Roof-to-wall transitions: Where a lower roof meets a wall, step flashing can corrode or pull away
Step 5: The Garden Hose Test
If you cannot find the leak during dry weather, you can simulate rain with a garden hose. Have one person go into the attic with a flashlight while another person runs water from a hose on the roof. Start at the lowest point of the roof and work your way up in small sections. When the person in the attic spots water, you have found the general area of the leak. Note that this method works best when performed by a professional who can safely access the roof.
When to Call a Professional
While the inspection steps above can help you identify the general area of a leak, we strongly recommend having a licensed roofing professional perform the actual roof repair. They have the tools, experience, and safety equipment to accurately diagnose the problem and fix it correctly. Attempting to repair a roof leak yourself can lead to voided warranties, additional damage, and personal injury.
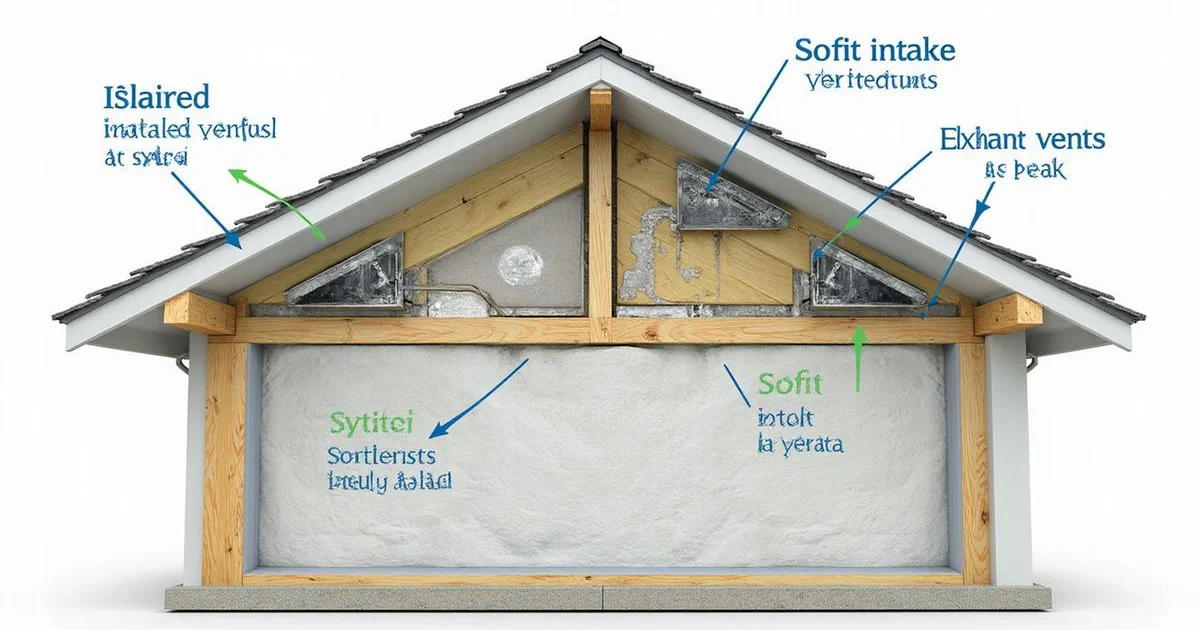
In the Saratoga Springs area, leaks caused by ice dams require particular expertise, as the solution often involves not just patching the leak point but also improving attic insulation and ventilation to address the root cause.
Act Quickly to Minimize Damage
The longer a roof leak goes unaddressed, the more damage it causes. What starts as a small stain can progress to rotted decking, damaged insulation, mold contamination, and compromised structural integrity. If you suspect a roof leak in your Saratoga Springs home, take action immediately.
Rooferly Saratoga Springs can connect you with experienced roofing professionals who specialize in leak detection and repair. Contact us today to get matched with a qualified contractor who can find and fix your leak before it becomes a bigger problem.
James Carter is a licensed roofing contractor with over 15 years of experience serving Saratoga Springs and the greater Capital Region.
GAF Master Elite CertifiedNeed Professional Help?
Get matched with trusted local roofers for your project.
Learn About Our Services